SFX Tricks That Level Up Your Edit
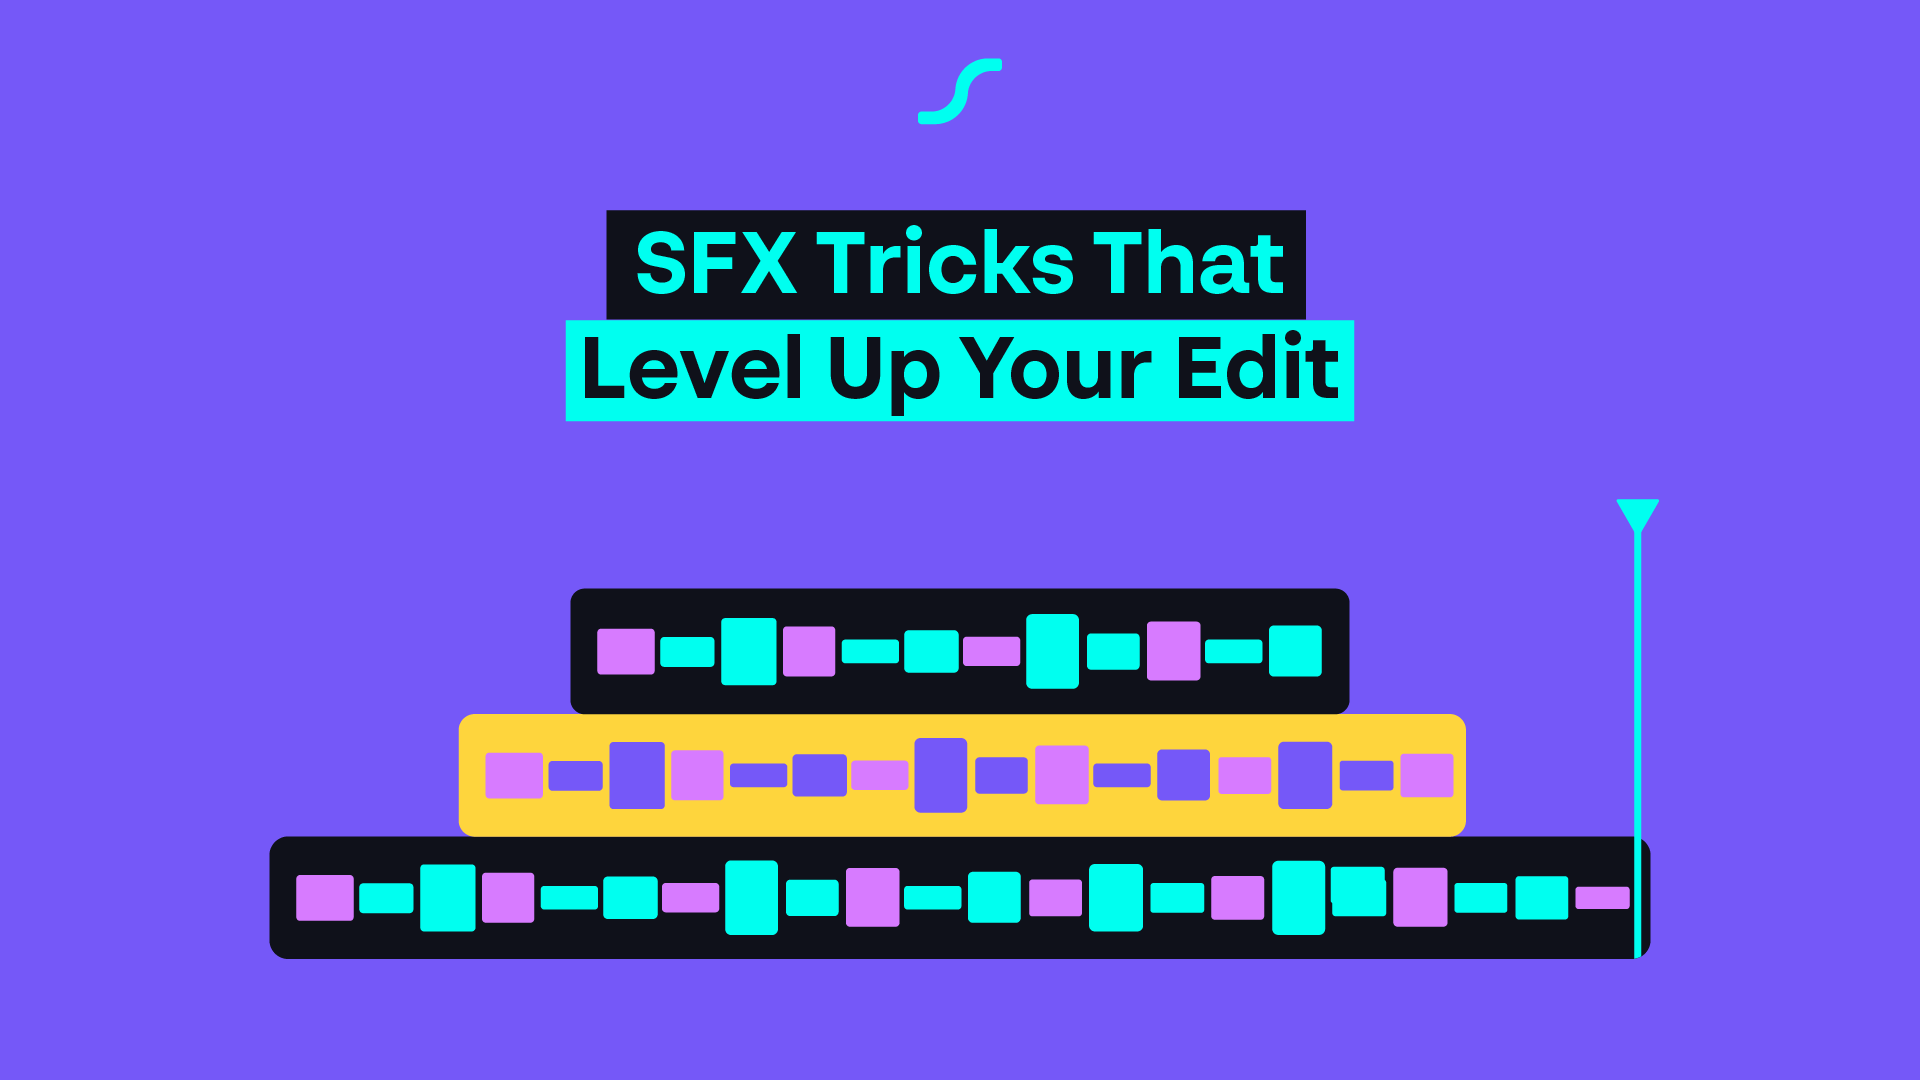
Three simple sound design tricks to build better SFX and end your music cleanly: layering, effects, and a reverb tail.
Intro SFX Tricks That Level Up Your Edit
Good sound design doesn’t come from finding the perfect sound effect. It comes from how you shape the sounds you already have.
In this guide, we cover three tricks you can apply to any edit:
Layering: stack several sounds at different levels to build a new one, instead of searching for a perfect match.
Effects on SFX: use Bandpass, Lowpass, and Studio Reverb to change how a sound feels.
Clean music endings: extend your track and finish it with a Studio Reverb tail when it has no natural end.
Each trick is quick to set up and works on any project.
1- Layering your sfx
What it means:
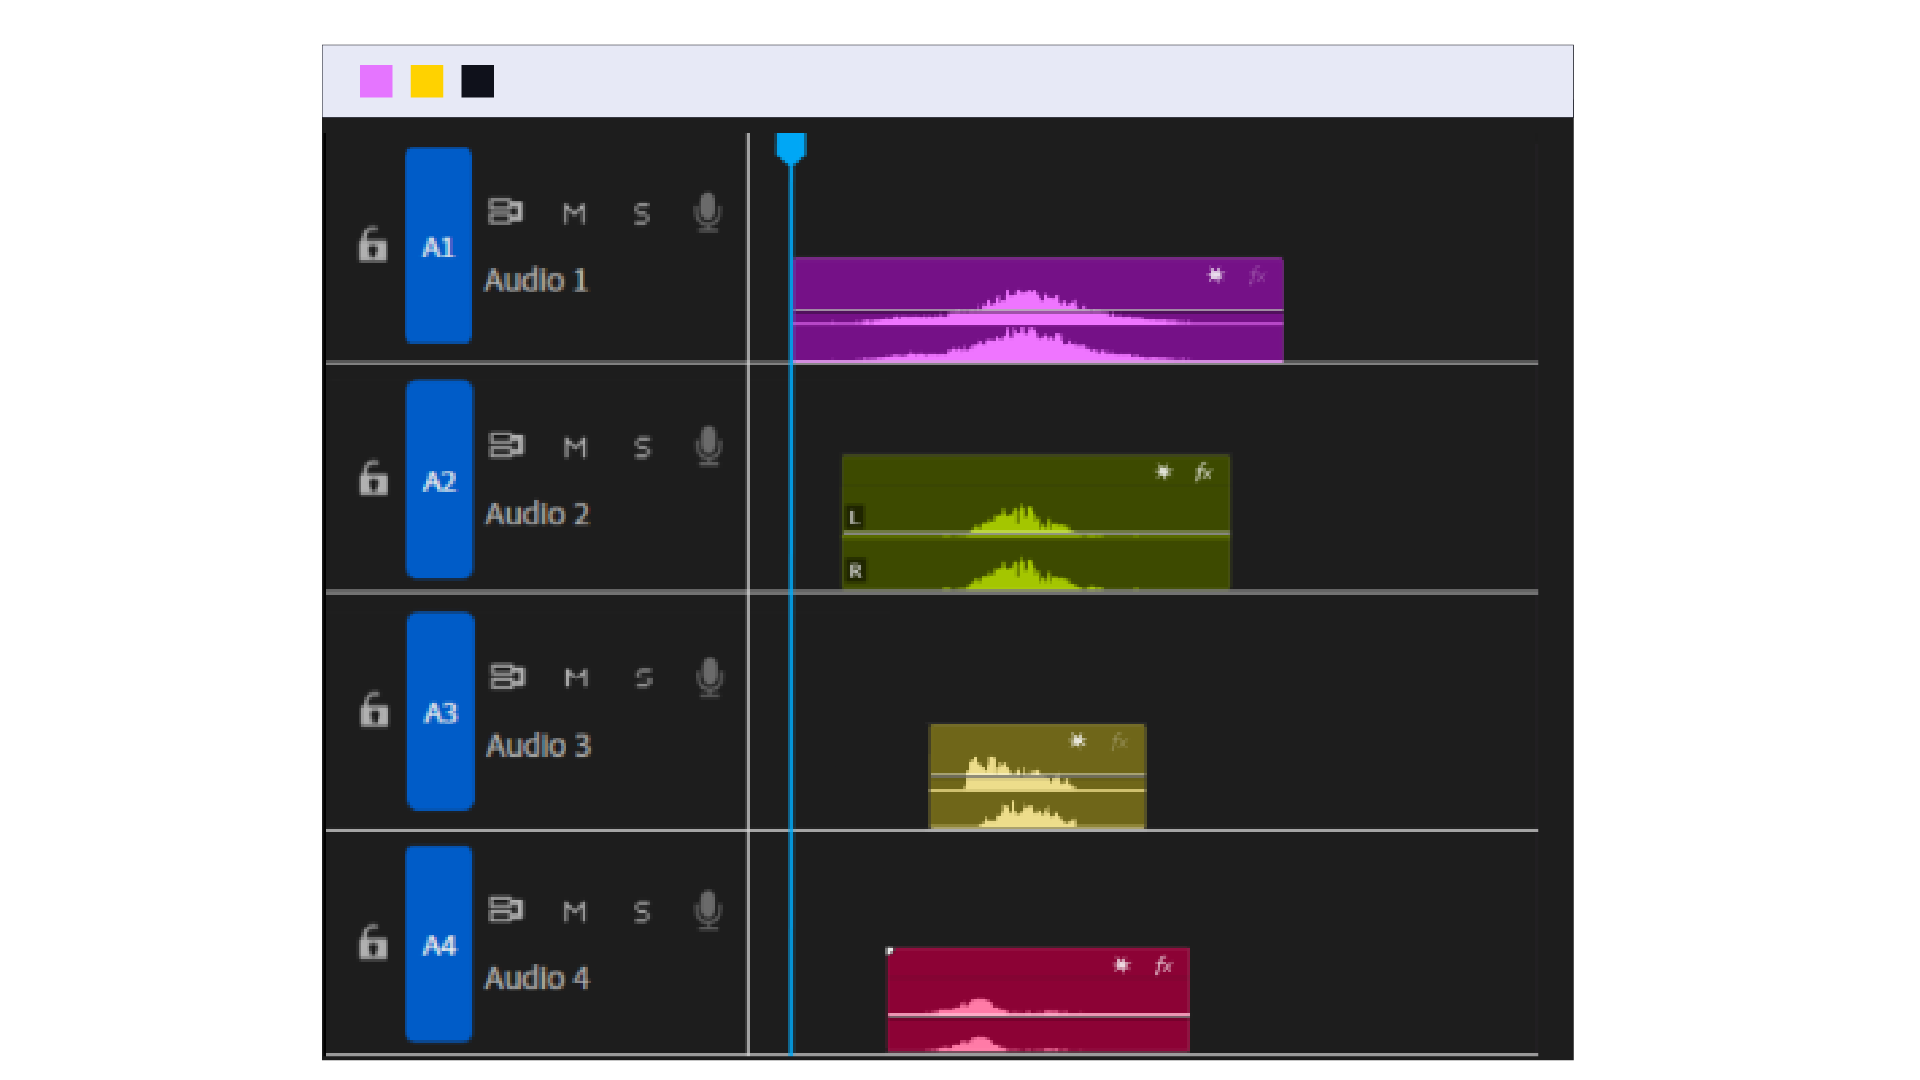
Layering is stacking several sounds on top of each other, at different levels, to build one new sound.
What it does:
Instead of looking for one sound effect that perfectly matches a movement, you build the sound yourself.
It saves time and gives you a result that fits the motion exactly.
How to do it:
Take a whoosh as an example. Instead of using a light whoosh for small movements and a heavy one for strong movements:
Stack three whooshes on top of each other. Set each one to a different level, like building a cake. Play them together as one sound, and adjust the levels until it fits your motion.
2-Add effects to your sfx
What it means:
Adding an audio effect to a sound effect instead of using it raw.
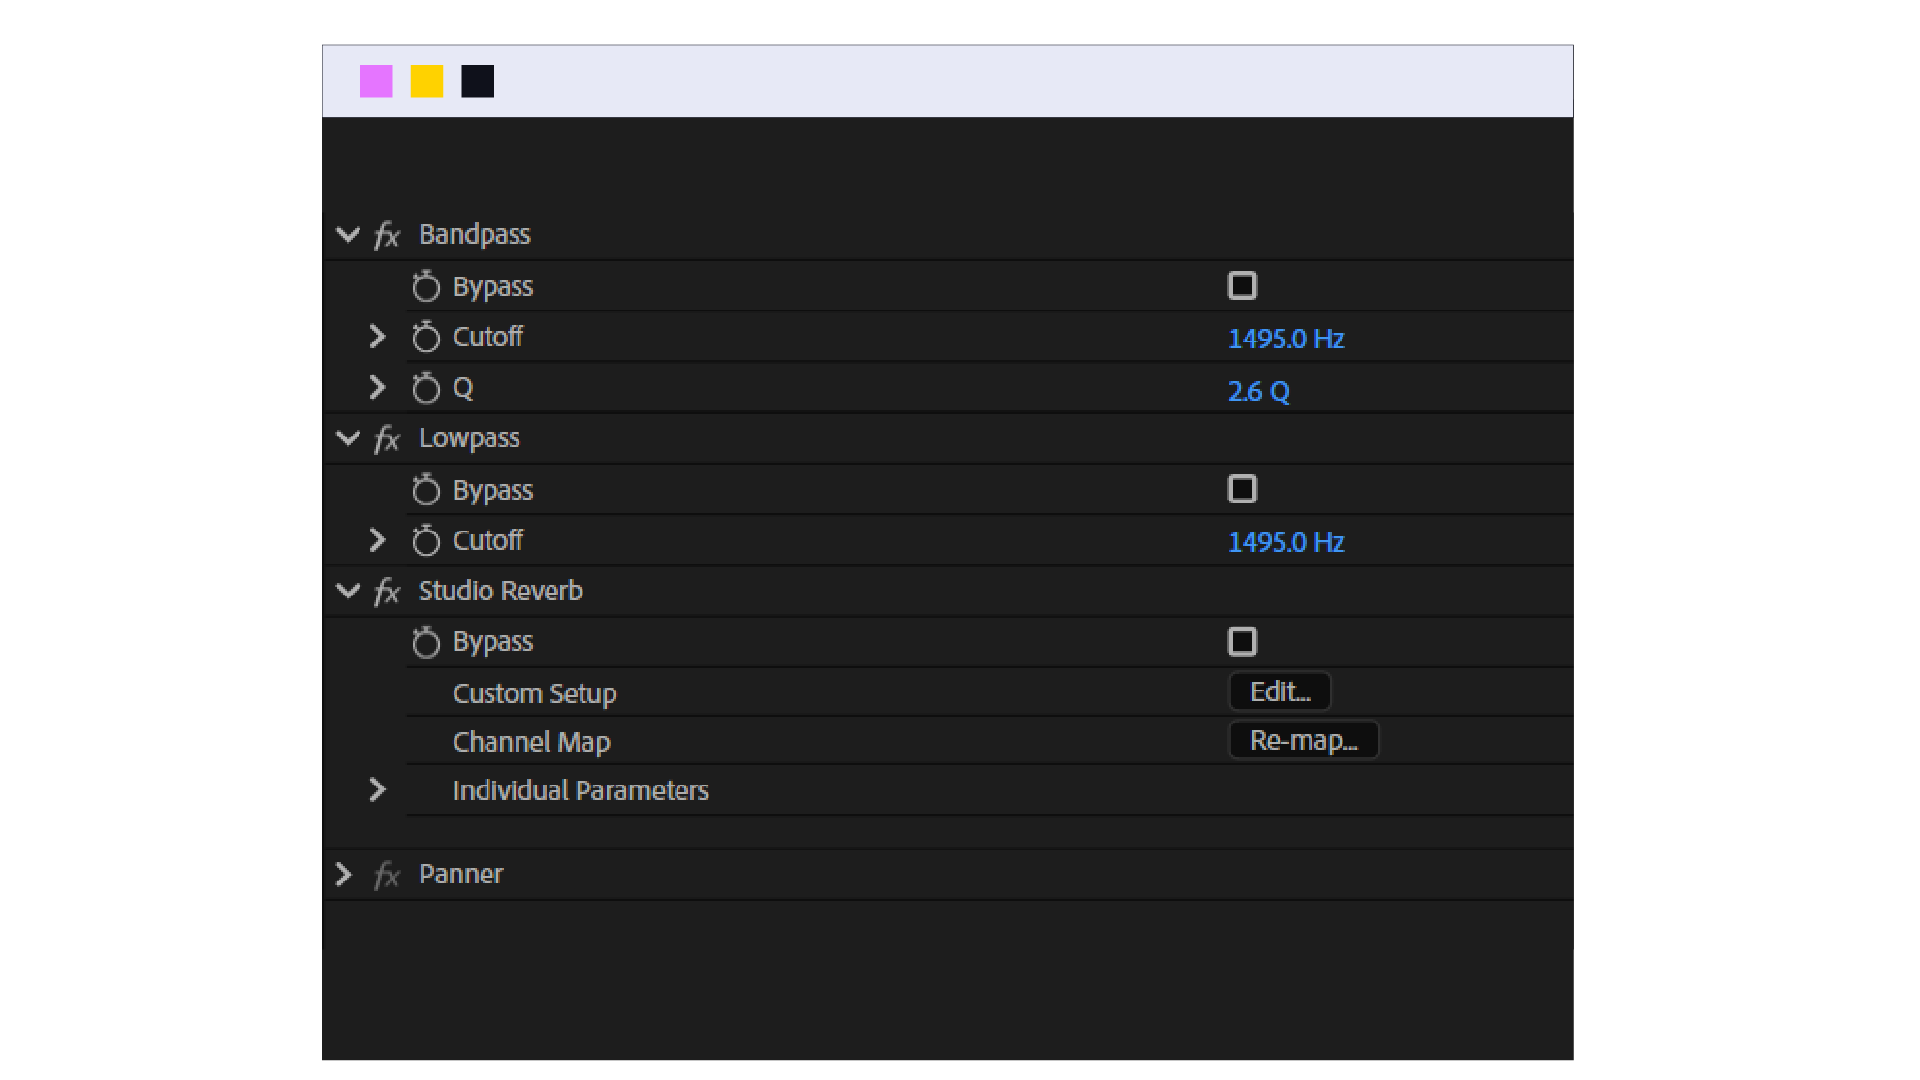
In Premiere Pro, all three effects live in the Effects panel and are adjusted in Effect Controls.
What it does:
An effect reshapes the sound, so one SFX can fit many different moments.
How to do it:
-
Bandpass:
Keeps one band of frequencies and removes everything above and below it. The result is thin and focused, like a radio or a phone.
-
Cutoff: sets the center of the band you keep.
-
Q: the width of the band. A low Q keeps a wide range. A high Q keeps a narrow one, which sounds more extreme.
A phone-like sound sits roughly between 300 and 3,000 Hz. Start there and adjust by ear.
-
Lowpass:
Removes frequencies above the cutoff, so the sound turns muffled and distant.
-
Cutoff: the frequency where the highs start disappearing. The lower the cutoff, the more muffled the sound.
-
Roughly: 1,200–1,800 Hz sounds like it’s behind a wall. 400–600 Hz sounds underwaterunds underwater.
-
Studio Reverb:
imulates the acoustics of a room, adding space and depth. Open Edit to shape it:
-
Room Size: the size of the space. A bigger room feels more open.
-
Decay: how long the tail lasts, in milliseconds. This is the one that matters most for ending music.
-
Damping: how much the highs fade in the tail. A higher value gives a warmer, darker reverb.
-
Diffusion: a low value gives distinct reflections. A high value blends them into a smooth wash.
-
Dry / Wet: Dry is your original sound, Wet is the reverb. Lower the Wet for a subtle effect.
3- Clean Music Ending
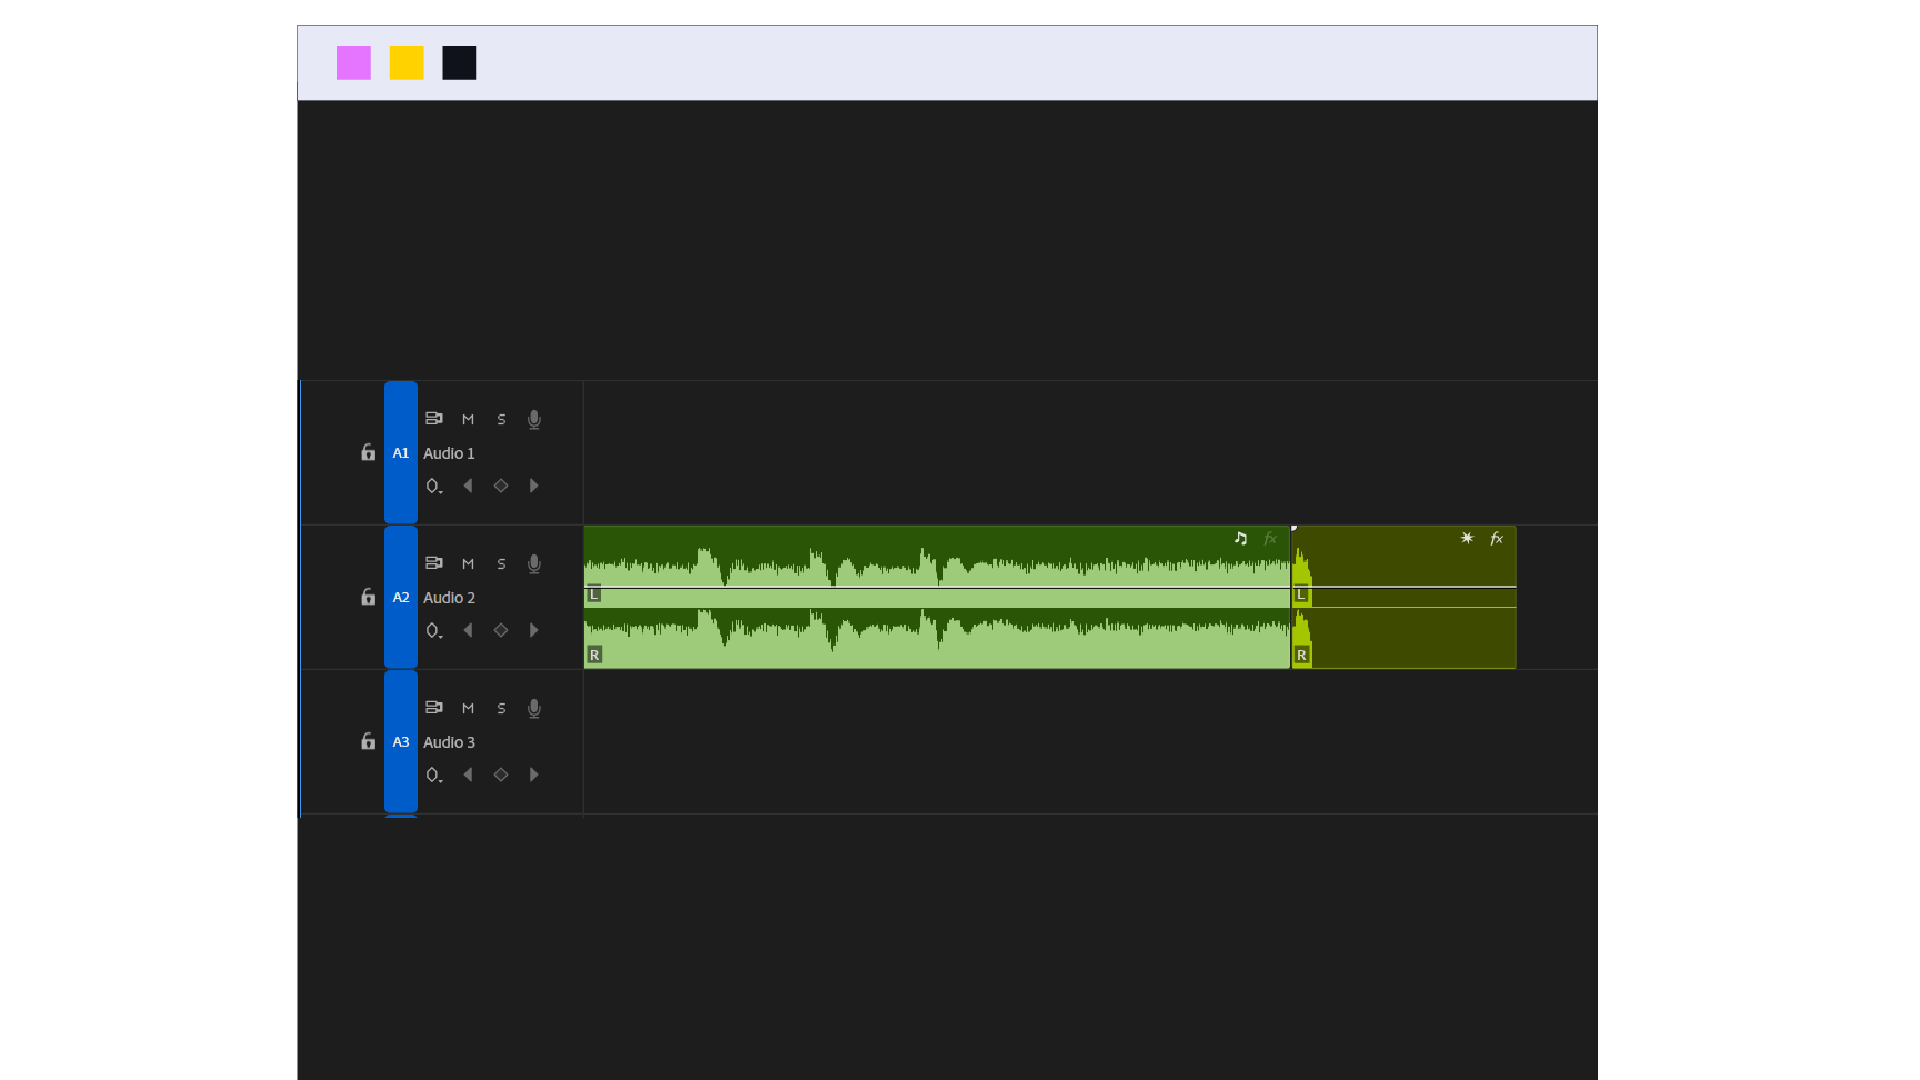
What it means:
A way to end a music track naturally when it has no natural ending, or when it’s longer than your video and you need to finish it earlier.
What it does:
It stretches the final beat and gives it a reverb tail, so the music fades out smoothly instead of being cut abruptly.
How to do it:
-
Cut your music at the last beat and nest it.
-
Go inside the nest, copy that beat, and place it further ahead on the timeline.
-
Go back outside and extend the nest to the length you need.
-
Add Studio Reverb to the nest.
-
Tweak the settings to fit your track. The Great Hall preset is usually a good starting point. Its long Decay (around 6000 ms) gives your music a tail that fades out naturally.
Outro SFX Tricks That Level Up Your Edit
Layering, effects, and a clean music ending. None of them is complicated on its own. The difference is knowing which one to reach for and why.
The best way to get comfortable is to use them on your next edit. Layer three whooshes on your next strong movement. Try a Lowpass on a sound that needs to feel distant. Give your closing track a Studio Reverb tail. After a few projects, these steps stop being tricks and become part of how you naturally edit.
And if you’re looking for ready-made scenes to pair with your sound design, explore our library.